Introduction
In MacBook, the printer driver accepts "Locked print" only. For configuration in Macintosh, different programs may have different interface.
Printer List
| Location | Name | Hostname |
|---|---|---|
| 3/F Multimedia Commons | L303Q | L303Q.lib.polyu.edu.hk |
| P/F Reading Area | L203A | L203A.lib.polyu.edu.hk |
| L203B | L203B.lib.polyu.edu.hk | |
| G/F North | L019B | L019B.lib.polyu.edu.hk |
Download driver
Please click the following button to download the driver before installation.
Installation
- Download the driver from Library homepage.
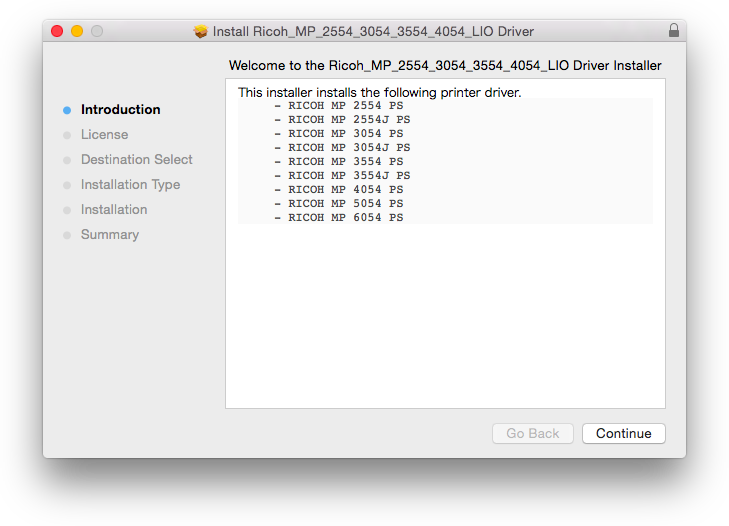
- Double click "Ricoh_MP_..._LIO_Driver.pkg"

- Click "Continue" > "Continue" > "Agree" > "Install"
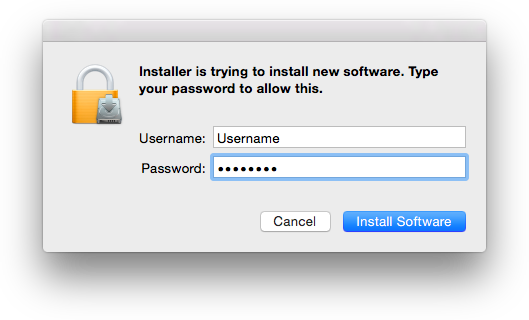
- Input your MacBook's account password for installation and click "OK"
- Click "Close" to complete printer driver installation.
Create printer
Follow the steps to create a printer
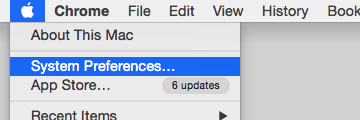
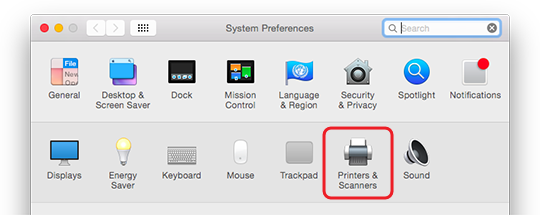
- Click the "Apple Icon" on the upper left corner and click "System Preferences"
- Click "Print & Scan"
- Click "+" to add printer

- Switch to "IP" and input the following information:
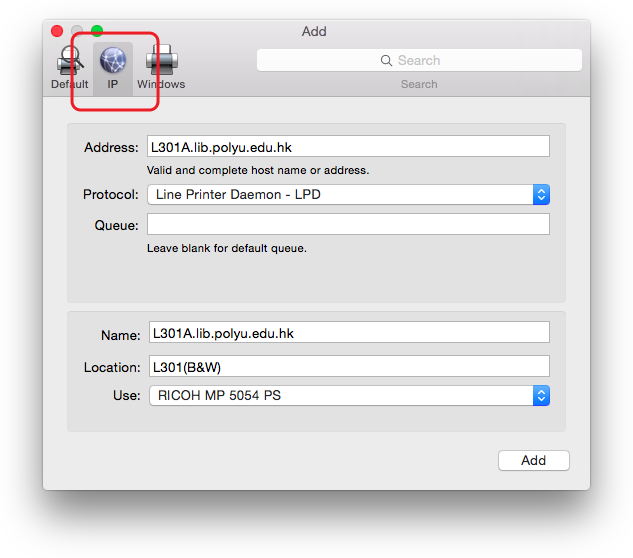
Address: Please refer to printer list on top of the this page.
Example: L301A.lib.polyu.edu.hkProtocol: Line Printer Daemon - LPD Name: L301A.lib.polyu.edu.hk (optional) Location: L301(B&W) (optional) Use RICOH MP 5054 PS Click "Add"
- The printer installation is completed. Please repeat these steps for another printer installation.

Create printing profile
This settings will create a profile for other software printing.
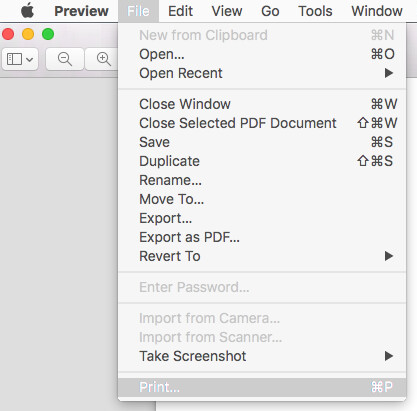
- Open your document to print, e.g. open a PDF file with the default "Preview" app.
- Click "File" > "Print" from the menu.
- From the printing dialog, click "Show Details"
- Select your preferred settings.
Two-Sided(Optional) Select "Job Log" #1 (Mandatory) User ID: <Your prefer User ID>(Mandatory) *4-8 alphanumeric charactersJob Type: "Locked Print" (Mandatory) *The printer accept "Locked Print" only.Password: ********(Mandatory) 4-8 digits#1 If "Job Log" is not available from the list, please start again from step 1 using a different application (e.g. Microsoft Word).

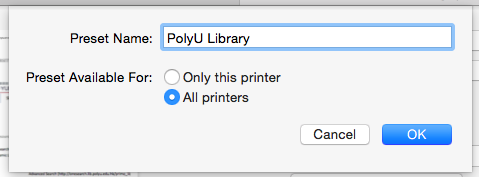
- Save your selection as "Presets" by setting [Presets: Save Current Settings as Preset].
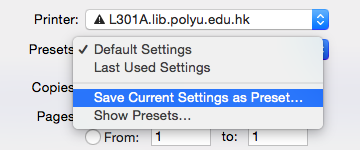
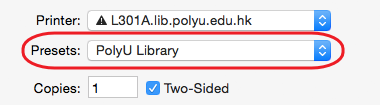
- Select the "Presets" created in the previous step before printing.

 PolyU Library AI Chatbot